In the realm of Alaskan hunting, mastering the art of tripod shooting is essential for success. A well-selected tripod not only enhances glassing capabilities but also serves as a stable shooting support. Many hunters find themselves in challenging positions after spotting their quarry, often struggling to achieve a stable shooting posture. The process should be straightforward: detach the optics from the tripod, secure the rifle onto the tripod head or rifle rest, adjust the legs, range the target, and shoot. With the right setup and practice during the off-season, transitioning from glassing to shooting can be seamless, significantly improving hunting success.
When choosing a tripod for hunting, consider the following key features:
- Adjustable Leg Sections: Opt for a tripod with three adjustable leg sections that accommodate both standing and seated positions. Ensure the locks (twist or lever) operate quietly and securely without slipping.
- Leg Angle Adjustments: The legs should be adjustable to three positions, allowing for a flat lay for seated shooting, thereby providing a stable base.
Be cautious with tripods featuring center posts, as they can hinder leg adjustments for flat positioning. It is advisable to cut the center post down to about 4-6 inches to maximize leg utility. Extending the center post during shooting compromises stability; keep it at the lowest position to maintain a low center of gravity. Additionally, a pan-style head with an Arca-Swiss plate attachment is recommended for quick and secure rifle attachment.
Rifle Attachment Points
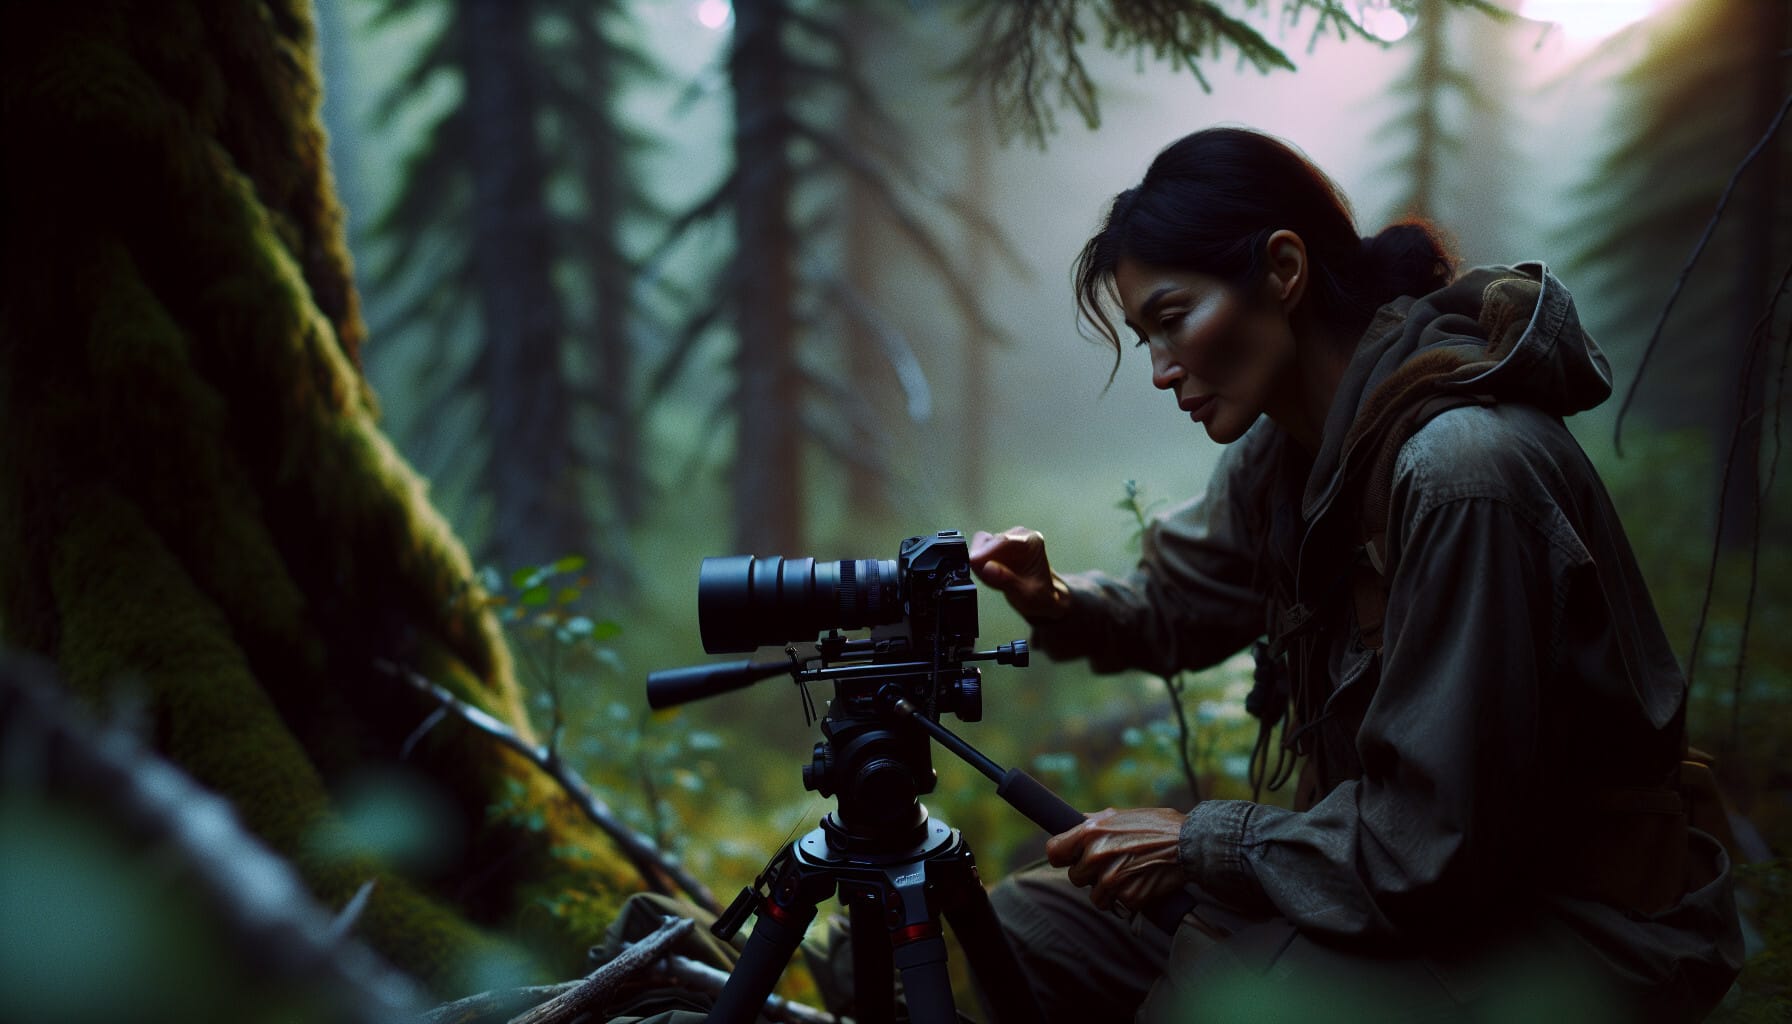
Rifle attachment is critical for effective shooting. Machined rail sections such as Arca, Picatinny, and Outdoorsmans dovetail can be affixed to the rifle’s stock via the front swivel stud holes. These plates allow for direct connection to the tripod head, mirroring the attachment method for binoculars and spotting scopes. This is the fastest and most secure method for tripod shooting. Many modern rifles come with built-in Arca rails, facilitating tripod connection without modifications.
In cases where direct attachment is not feasible, rifle rests that clamp to the stock can be utilized. However, these do not provide the same level of stability as a direct clip-in method. Brands like Triclawps, Hogg Saddle, and Outdoorsmans offer various options. Regardless of the method, ensuring the ability to shoot from a tripod is paramount for successful hunting.
Once the rifle is securely attached to the tripod, the training process begins by establishing proper shooting positions for various field scenarios. This training should prioritize body positioning over using a shooting bench to develop skills effectively.
Seated Position
Begin by securing the rifle onto the tripod, adjusting the legs for a seated position similar to glassing. Open the legs to the middle notch for stability, extending the lower legs first for easy height adjustments. Ensure the rifle is at an appropriate height for a comfortable cheek weld, with the rifle shouldered against the pectoral muscle rather than the shoulder pocket. This positioning enhances recoil management and accuracy.
With the tripod and rifle set up, focus on building a stable body position around the setup. Avoid flexing the stock or lifting tripod legs off the ground to maintain stability. Adjust your body to align naturally with the rifle, ensuring a natural point of aim (NPA) where the crosshairs rest on the target without shooter input. A solid NPA simplifies shooting and enhances follow-up shot readiness.
Establishing a squared stance with the rifle’s recoil pad improves recoil management, allowing for efficient spotting of impacts and preparation for follow-up shots. Directly clipping the rifle to the tripod head minimizes unwanted movement during recoil, ensuring the rifle remains on target.
Kneeling Position
While seated shooting offers stability, kneeling may be necessary to shoot over obstacles like rocks or tall grass. Adjust the tripod height accordingly, typically adding 8-10 inches to the middle leg from the seated position. Maintain a comfortable stance with knees together and feet flat, resting the butt on the heels. Consider using a shooting pad to protect the knees from harsh terrain.
To facilitate rapid deployment during hunting or competitions, mark the leg positions for seated and kneeling shooting with a sharpie, using different colors or bands for easy identification.
Standing Position
The standing position is the least stable and requires significant practice. With the tripod legs extended, the rifle should be positioned at nipple height, allowing for a slight lean forward to manage recoil effectively. A wide stance, just outside shoulder width, enhances stability during shooting.
Practice standing shots at various distances, focusing on maintaining target visibility post-recoil. If the rifle does not return to the target, reassess your stance. A lightweight tripod may require additional adjustments to maintain target alignment after firing. With sufficient practice, shooters can effectively spot impacts at distances of 500-600 yards and beyond.
Learn Your Weapon
When shooting from a tripod, it is advisable to keep the rifle scope below 15x magnification. A lower power range offers a wider field of view, facilitating quicker target acquisition. Many hunters struggle with positional shooting when using higher magnifications, as the reticle wobble can be distracting.
Be mindful that zeroing may shift when transitioning from a bench to a tripod, particularly with stocks that flex under recoil. This can result in a 1-2 inch deviation at 100 yards. Understanding your equipment’s behavior is crucial for maintaining confidence in your setup.
For training, utilizing a rimfire .22LR or .223 Rem rifle can provide cost-effective practice. This approach allows for ample trigger time to perfect tripod setups across various positions. Once comfortable with basic positions, incorporate angled terrain to simulate real hunting conditions. Conclude training with the actual hunting rifle and ammunition to build confidence.